Car remotes, or key fobs, have become indispensable for modern vehicle owners. They offer unparalleled convenience, allowing you to lock and unlock doors, activate alarms, open trunks, and even start your car from a distance. However, like any electronic device, car remotes can sometimes lose their programming or malfunction. When this happens, the good news is that you can often reprogram your car remote yourself, potentially saving time and money compared to visiting a dealership or calling a locksmith. This guide will walk you through the general steps on how to program a car remote, empowering you to regain control and convenience.
Before you begin, it’s crucial to understand that while the following steps provide a general approach, the exact procedure for how to program a car remote can vary significantly depending on your car’s make, model, and year. Always consult your vehicle’s owner’s manual for the most accurate and specific instructions. Your owner’s manual is the best resource for detailing the precise steps for your particular car.
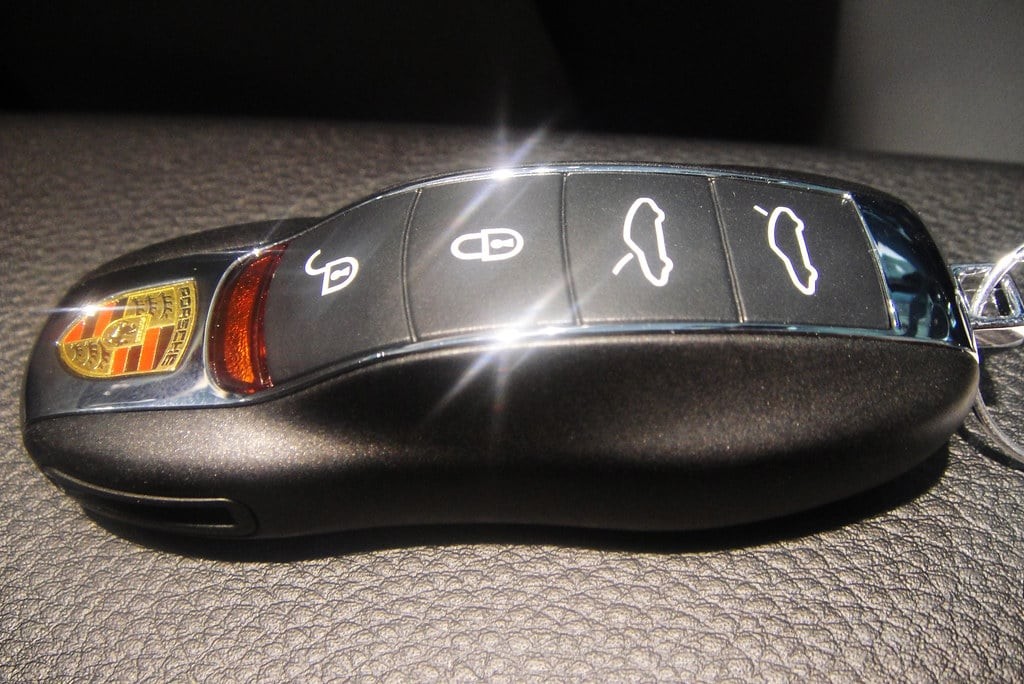 Porsche Key Fob with Lock Button and Car Key
STEP 1: Prepare for Programming Your Car Remote
The first crucial step in how to program your car remote is preparation. Sit comfortably in the driver’s seat of your car, ensuring all doors are completely closed. Have your ignition key and the car remote you wish to program readily available. Before proceeding, take a moment to locate your car’s owner’s manual. This manual often contains specific instructions for programming your car remote that are tailored to your vehicle’s exact specifications. If you can’t find your physical manual, most manufacturers offer digital versions on their websites, searchable by your car’s VIN (Vehicle Identification Number). Familiarizing yourself with the manufacturer’s recommended procedure can save you time and prevent potential issues during the programming process.
STEP 2: Initiate the Ignition Cycle
Now, insert your ignition key into the ignition switch. Turn the key to the “ON” position. This is the position just before you would crank the engine to start the car. You should see the dashboard lights illuminate, indicating that the car’s electrical system is active. It’s important not to start the engine at this stage. The goal is simply to power up the car’s electronics, enabling the receiver to recognize the programming signals from your remote. Leave the key in this “ON” position for a few seconds, as this allows the car’s system to enter programming mode in some models.
STEP 3: Engage the Lock Button Sequence
With the ignition in the “ON” position, take your car remote and aim it towards the dashboard. The location of the receiver can sometimes vary, but it’s often near the rearview mirror or on the steering column. Press and hold the “lock” button on your remote for a few seconds. In some car models, you might need to press the “lock” button multiple times in a specific sequence (e.g., press and hold lock, then press unlock twice, then release lock). Again, your owner’s manual will be invaluable in detailing the exact button press sequence required for your vehicle. Listen for any audible cues from your car, such as the doors locking and unlocking, which might indicate that the programming sequence has been initiated successfully.
STEP 4: Repeat the Process for Additional Car Remotes
If you have multiple car remotes that you need to program, it’s essential to repeat the programming process immediately for each additional remote. Many car security systems are designed to clear the memory of previously programmed remotes when a new one is being programmed. This means that if you only program one remote and don’t reprogram the others right away, the unprogrammed remotes may no longer work. Therefore, after successfully completing the steps for the first remote, quickly repeat steps 2 and 3 for each additional remote you want to program. Act swiftly and without delay between programming each remote to ensure all of them are recognized by your car’s system.
STEP 5: Finalize and Test Car Remote Programming
After you have programmed all desired car remotes, turn the ignition key back to the “OFF” position and remove it from the ignition. This step finalizes the programming process. Now, it’s time to test each of your newly programmed car remotes to ensure they are working correctly. Step outside of your car and, one by one, test each remote’s functions: lock, unlock, trunk release, and panic button. If the programming was successful, you should hear the car doors lock and unlock in response to the “lock” and “unlock” buttons on each remote. If any of the remotes are not functioning as expected, double-check the steps in your owner’s manual and consider repeating the entire programming process from the beginning, paying close attention to each step.
Important Considerations for Car Remote Programming
While the steps outlined above are a general guide on how to program a car remote, remember that the specific procedure can vary widely across different car manufacturers and models. Some vehicles may require additional steps, such as opening and closing the driver’s side door, pressing specific buttons in combination, or even using a diagnostic tool for more complex programming.
If you encounter difficulties programming your car remote using the general steps or the instructions in your owner’s manual, it might be necessary to seek professional assistance. Automotive locksmiths and dealerships have specialized tools and expertise to program car remotes, especially for newer vehicles with advanced security systems. In some cases, particularly with aftermarket remotes or certain car models, professional programming may be the only viable option.
In conclusion, learning how to program your car remote can be a convenient and cost-effective solution when your remote malfunctions or needs reprogramming. By following the general steps and, most importantly, consulting your vehicle’s owner’s manual for specific instructions, you can often successfully program your car remote at home and regain the convenience and security it provides.