
Experiencing car trouble and suspecting your Engine Control Unit (ECU) might be the culprit? It’s a frustrating situation, and getting accurate diagnostics and reliable repairs can often feel like navigating a maze. Many car owners are told their only option is an expensive new ECU, but there’s often a more cost-effective solution: ECU cloning, also known as ECU duplication. This guide will walk you through the process of Car Ecu Repairs by cloning your existing unit, potentially saving you time and money.
One of the primary concerns when an ECU fails is the immobilizer system. Your original ECU contains crucial vehicle-specific data that is linked to your car’s immobilizer (often referred to as the SKREEM module). This is why simply replacing an ECU with a generic used unit is rarely straightforward. However, by cloning your original ECU onto a used “donor” ECU, you can bypass these immobilizer issues and get your car back on the road without the need for complex reprogramming of keys or immobilizer modules.
It’s important to understand why ECUs fail in the first place. While ECUs are generally robust, failures can occur. Often, an ECU failure isn’t the root problem but a symptom of another underlying issue, such as a wiring short in the engine harness. Before installing any replacement ECU, it’s crucial to thoroughly inspect your vehicle’s wiring to prevent the same issue from damaging the new unit. Replacing the ECU without addressing the initial problem could lead to repeated failures and further expense.
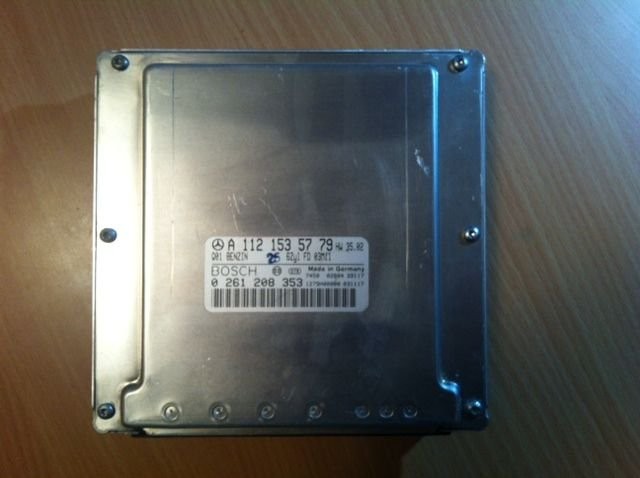
Assuming you’ve addressed any potential underlying electrical issues, ECU cloning offers a viable repair path. The process involves accessing the data stored within your original ECU and transferring it to a compatible used ECU. Here’s a step-by-step guide, typically performed by a skilled electronic repair shop, outlining how this is achieved:
Step 1: Accessing the ECU Internals
Begin by carefully removing the cover from both your original ECU and the donor ECU. Usually, this involves unscrewing the cover to gain access to the circuit board inside.
Image alt text: Car ECU with metal casing partially removed, showcasing internal components in a car ECU repair context.
Step 2: Exposing the Circuit Board
Once the screws are removed, gently lift the lid from the bottom casing of the ECU. This will reveal the internal circuit board.
Image alt text: Top cover of a car engine control unit (ECU) detached, displaying the exposed circuit board underneath for ECU repair assessment.
Step 3: Separating the Circuit Board (If Necessary)
In some ECU models, the circuit board might be adhered to the lid with mastic. If this is the case, carefully use a Stanley knife or similar tool to gently separate the circuit board from the lid. This step needs to be done with caution to avoid damaging the board.
Image alt text: Close-up of a blade separating the glued circuit board from the ECU casing during a car ECU repair procedure.
Step 4: Locating the EEPROM Chip
The crucial component for cloning is the EEPROM (Electrically Erasable Programmable Read-Only Memory) chip. This chip, often a 5P08C model, contains the vehicle’s identification data and coding. Locate this chip on the circuit board. Pin 1 is usually marked for easy identification.
Image alt text: Detailed view of a 5P08C EEPROM chip circled in red on a car ECU board, emphasizing its role in car ECU repairs.
Step 5: Reading the Original ECU Data
Using an EEPROM reader/programmer, connect to the 5P08C chip on your original ECU. Carefully read and save the binary file from this chip. This file is your vehicle’s unique data and is essential for the cloning process. Store this file safely, ideally on a USB drive for future use.
Image alt text: EEPROM reader/programmer connected to the 5P08C chip on a car ECU during data extraction for car ECU repairs and cloning.
Step 6: Writing Data to the Donor ECU
Disassemble the donor ECU in the same manner as your original unit. Connect the EEPROM reader/programmer to the corresponding 5P08C chip on the donor ECU. Write the binary file you saved from your original ECU onto this chip. This effectively clones your original ECU data onto the used unit.
Step 7: Reassembly and Installation
Reassemble the donor ECU. You typically don’t need to reapply mastic unless necessary for sealing. Install the cloned ECU back into your car. With the data successfully transferred, your car should start and run without immobilizer issues.
What if You Don’t Have the Original ECU?
If your original ECU is lost or unrecoverable, the process becomes more complex. In such cases, you would typically need to purchase a new ECU or “virginize” a used ECU. These ECUs then need to be programmed to your specific vehicle using specialized software like Mercedes STAR DAS (Xentry) for compatible vehicles. This process is more involved and often requires dealer-level tools or specialist programmers.
Conclusion: Efficient and Cost-Effective Car ECU Repairs
Car ECU repairs through cloning offer a significant advantage for many vehicle owners. It’s a faster and more economical solution compared to purchasing and programming a brand-new ECU, especially when dealing with immobilizer-related issues. By transferring the data from your original unit, you ensure compatibility and avoid the complexities of immobilizer reprogramming.
For those seeking expert assistance with car ECU repairs, especially ECU cloning and programming, contacting a specialist with experience in automotive electronics is highly recommended. They possess the expertise and equipment to accurately diagnose ECU problems and perform cloning procedures effectively, getting you back on the road with minimal hassle.