
 Engine Control Unit
The engine control unit (ECU), often referred to as a car’s computer, is a vital component that manages a multitude of your vehicle’s operations. From regulating fuel consumption to controlling engine performance, the ECU is at the heart of your car’s functionality. When this crucial part malfunctions, it can lead to a range of issues, potentially leaving you stranded. Common signs of a failing ECU include the persistent illumination of the check engine light on your dashboard, a noticeable decrease in fuel efficiency, and in some cases, the inability to start your car at all. Replacing an ECU can seem daunting, and the cost of a new unit from a dealership can be significant. This is why many car owners consider purchasing a second-hand ECU and undertaking the replacement themselves. But Can You Change The Ecu In A Car yourself? The answer is often yes, particularly for older models. This guide will walk you through the process of replacing your car’s ECU, offering a step-by-step approach to help you get back on the road.
Ensuring ECU Compatibility
Before you even think about tools, the most crucial step when considering an ECU replacement is verifying compatibility. ECUs are not universally interchangeable; they are specifically programmed for particular car makes, models, and even engine types. While ECUs from similar models within the same manufacturer might appear physically identical, their internal programming is likely different. Therefore, it’s absolutely essential to check the part number on your existing ECU and ensure the replacement unit matches it exactly. This part number is your key to compatibility and ensures that the new ECU will communicate correctly with your car’s other systems. Ordering an ECU with the incorrect part number can lead to further issues and prevent your car from running properly, or even starting at all.
Disconnecting the Battery: A Safety First Approach
Safety is paramount when working with your car’s electrical system. Before you begin any work on the ECU, the very first step is to disconnect the car battery. This is not just a recommendation; it’s a necessary safety precaution. Disconnecting the battery ensures that there is no electrical current flowing through the vehicle’s circuits, preventing accidental shorts or damage to sensitive electronic components. Once you’ve disconnected the battery, it’s advisable to wait for about 15 minutes. This waiting period allows any residual electrical charge to dissipate from the car’s capacitors and memory chips within the computer systems. This step is crucial for effectively clearing any stored data in the old ECU and preventing conflicts when the new unit is installed.
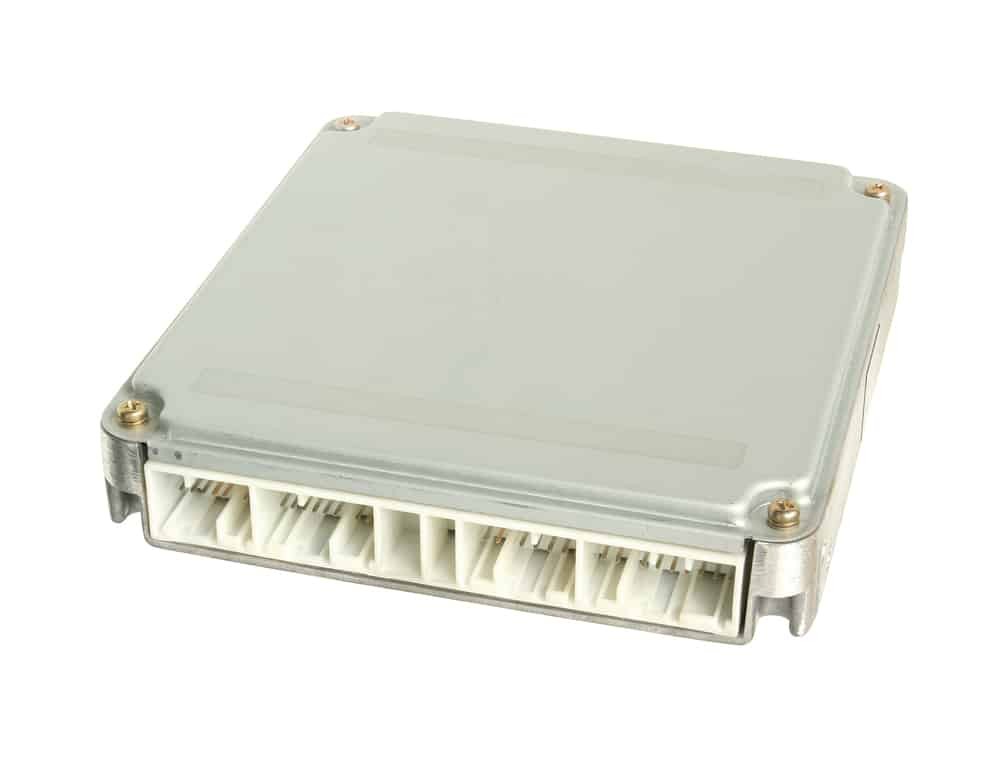
Step-by-Step ECU Removal
Locating your car’s ECU is the next step, and your owner’s manual is your best resource for this. While ECU locations can vary, they are often found in the passenger compartment. You might need to remove trim panels or carpeting to gain access. Once you’ve located the ECU, it’s usually held in place by a bracket and screws. Typically, these are Phillips head screws, so ensure you have the correct screwdriver size. After removing the screws, the final step in detaching the old ECU is to unplug the wiring harness. This harness connects the ECU to the car’s electrical system and sensors. It’s often secured with a bolt or clip, which you’ll need to carefully remove before gently disconnecting the harness. Take your time with this step to avoid damaging the connector or wires.
Installing Your Replacement ECU
With the old ECU removed, you now have the opportunity to inspect it for any visible signs of damage. While some ECU faults are internal and not visually apparent, sometimes you might find burnt components or corrosion. In some cases, there might be a diagnostic mode or reset procedure that could potentially revive a faulty ECU, although this is not always successful. If you’ve determined the old ECU is beyond repair, it’s time to install the replacement engine ECU. Connect the wiring harness to the new ECU, ensuring it clicks or bolts securely into place. Then, carefully position the ECU back into its housing and secure it with the screws you removed earlier.
Reconnecting and System Initialization
The final steps involve reconnecting the battery and allowing your car’s computer systems to initialize with the new ECU. Reconnect the car battery, ensuring the terminals are clean and connections are tight. Next, turn the ignition key to the auxiliary position – this is the position where the dashboard lights illuminate, but the engine does not start. Leave the car in this auxiliary mode for about five minutes. This allows the new ECU and the car’s computer to communicate and configure themselves correctly. After this period, turn the ignition off completely, and then start your car as you normally would. In most cases, the car should start without issue, and you should observe if the check engine light has turned off, assuming the ECU was the cause of it.
Modern Cars and ECU Replacement Challenges
While replacing the ECU in older cars (pre-2001) is often a straightforward DIY task, modern vehicles present more complexities. Cars manufactured in recent years often have sophisticated, integrated computer systems. Replacing the ECU in these newer vehicles might not be as simple as plug-and-play. Many modern ECUs require programming or coding to be correctly matched to the car’s immobilizer system, and other onboard computers. This often necessitates specialized diagnostic tools and software that are typically only accessible to authorized dealers or highly specialized mechanics. Therefore, while “can you change the ECU in a car?” is often answered with a yes for older models, for newer vehicles, it’s often advisable to seek professional assistance to ensure proper installation and configuration.