
The Engine Control Unit (ECU), often referred to as your car’s computer, is a critical component that manages a vast array of functions essential for your vehicle’s operation. From regulating fuel consumption to controlling engine performance, the ECU’s health is paramount. When this vital part malfunctions, it can lead to significant issues, ranging from persistent check engine lights to complete engine failure. Recognizing the symptoms of a failing ECU and understanding how to address it, potentially through an ECU replacement, can save you considerable expense and keep your vehicle running smoothly.
Common signs of a faulty ECU include a perpetually illuminated check engine light on your dashboard, a sudden decrease in fuel efficiency, and in more severe cases, the inability to start your car. While ECU replacement might seem daunting, particularly given the cost of new units from dealerships, opting for a second-hand ECU and performing a DIY installation can be a cost-effective solution. This guide provides a step-by-step approach on how to Change Car Ecu effectively and safely.
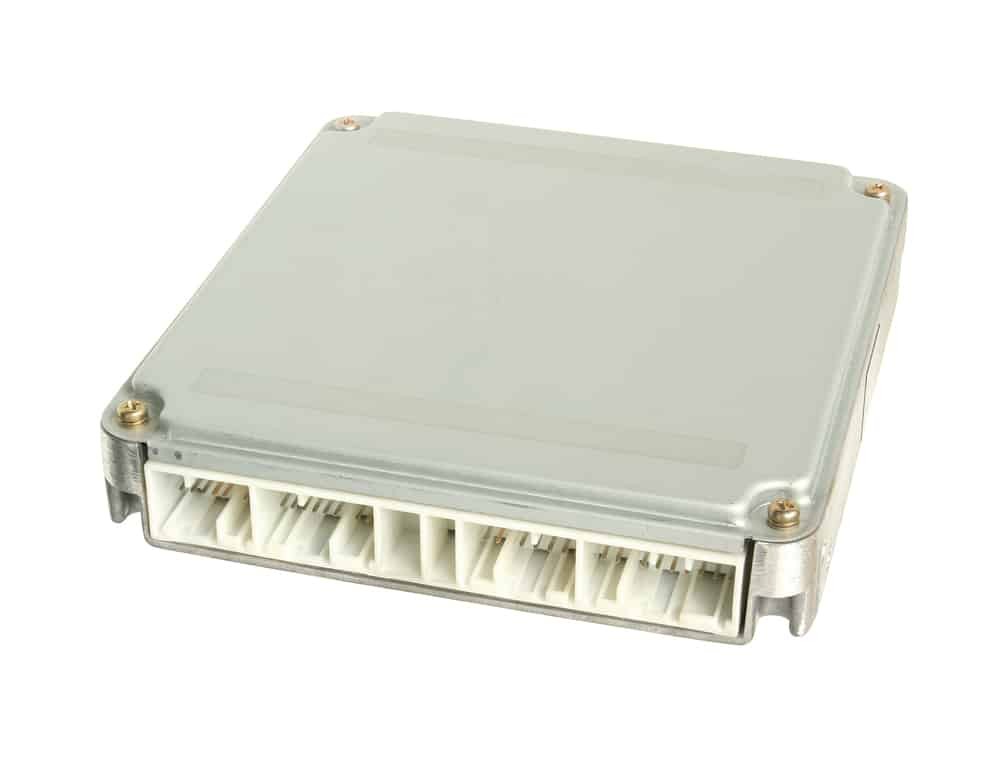 Car ECU Unit
Ensuring Compatibility: Check Your ECU Part Number
Before you even think about removing any parts, verifying ECU compatibility is non-negotiable. ECUs, while appearing physically similar across models from the same manufacturer, are programmed with specific software and configurations tailored to different vehicle specifications. Therefore, it is absolutely crucial to identify and match the exact part number of your vehicle’s ECU before ordering a replacement. This ensures that the new unit is fully compatible with your car’s systems and will function correctly after installation. Locate the part number on your existing ECU, typically found on a label attached to the unit itself.
Step-by-Step Guide to Change Car ECU
Replacing your car’s ECU requires careful steps to ensure both your safety and the proper functioning of your vehicle. Follow these instructions methodically:
1. Disconnect the Car Battery
Safety first! Begin by disconnecting the negative terminal of your car battery. This is a crucial step to eliminate any electrical current in your vehicle’s circuits, preventing potential electrical damage during the ECU removal and installation process. After disconnecting the battery, allow your car to sit for about 15 minutes. This waiting period ensures that any residual electrical charge dissipates and allows the car’s computer systems to fully discharge, clearing temporary memory and preventing conflicts with the new ECU.
2. Locate and Remove the Old ECU
Consult your vehicle’s owner’s manual to pinpoint the precise location of the ECU. In many vehicles, the ECU is situated within the passenger compartment, often under the dashboard or beneath the carpeting. Once located, you might need to remove interior trim panels or carpeting to gain access to the unit. The ECU is typically secured by brackets and screws, often Phillips head screws. Use the appropriate screwdriver to remove these fasteners. Finally, disconnect the wiring harness from the ECU. This harness is usually secured with a bolt or clip that needs to be released to detach the connector safely.
3. Install the Replacement ECU
Before installing the new unit, inspect the old ECU for any signs of damage or corrosion, which might provide clues about the cause of failure. While the old ECU is removed, there might be diagnostic procedures to test it or attempt a reset, though success isn’t guaranteed. To install the replacement ECU, connect the wiring harness securely. Ensure it clicks or bolts into place firmly. Then, mount the new ECU in its housing and secure it with the screws and brackets you removed earlier.
4. Reconnect the Battery and Initialize
After the new ECU is physically installed, it’s time to reconnect the car battery. Start by reconnecting the positive terminal first, followed by the negative terminal. Once the battery is connected, turn the ignition key to the auxiliary position – this is the position just before you start the engine, where the dashboard lights illuminate. Leave the ignition in this position for about five minutes. This allows the new ECU and the vehicle’s computer systems to communicate and configure themselves correctly. After this period, turn the ignition off completely, and then start your car as you normally would. In most cases, the car should start without issue.
Limitations with Modern Vehicles
While replacing the ECU in older vehicles (pre-2001) is often a straightforward DIY task, modern cars present additional challenges. Vehicles manufactured more recently often feature sophisticated, integrated computer systems. Changing the ECU in these newer models frequently requires more than just a hardware swap. It often necessitates reprogramming or “flashing” the new ECU to be compatible with the car’s specific VIN and security systems. This process usually requires specialized diagnostic tools and software that are typically available only to authorized dealerships or specialized automotive technicians. Therefore, for newer vehicles, it is generally advisable to seek professional assistance for ECU replacement to ensure proper installation and system integration.
By following these steps, you can confidently approach changing your car’s ECU. Remember to prioritize safety, ensure part compatibility, and recognize when professional help is necessary, especially for newer, more technologically complex vehicles.